Are you ready to transform your favorite photos into stunning line art? If you’ve ever admired intricate designs and wished you could create your own, you’re in for a treat! In this article, we’ll dive into the world of line art and show you just how easy it can be to turn your snapshots into beautiful, simplified images that speak volumes. With the help of SoftOrbits software, you’ll learn step-by-step techniques to craft the perfect line art, whether you’re a seasoned artist or a curious beginner. So grab your digital tools, and let’s unleash your creativity. Get ready to impress your friends, decorate your space, or even launch a new artistic venture—all starting from the photos that mean the most to you!
Getting Started with Line Art Creation
Line art is a captivating way to transform ordinary photos into striking visual representations. By focusing on the outlines and contours of your subject, you can create minimalist yet expressive images that stand out. Here’s how you can dive into the world of line art creation, harnessing the power of digital tools to enhance your artistic journey.
To begin, gather the right materials. Here’s what you need:
A quality photo: Choose an image that has clear details and contrasts, as this will make it easier to distinguish lines.
Digital editing software: Software like SoftOrbits Photo Studio is perfect for transforming photos into line art effortlessly.
A graphic tablet: If you plan to refine your line art manually, a tablet will give you more control over your strokes.
Once you have your materials ready, it’s time to upload your chosen photo into the editing software. This is where the magic begins! Use the software’s built-in tools to adjust the contrast and brightness. Enhancing these settings will help emphasize the lines and shapes, setting the stage for your line art.
Next, utilize the software’s tracing features. Here’s a simple approach:
Select the Line Art tool within the program.
Adjust the threshold settings to capture the details accurately.
Preview the output and make adjustments as necessary to ensure the lines are crisp and clear.
Now that you have a basic outline, it’s time to refine your work. Zoom in to examine the lines closely. Use tools like the eraser or brush to smooth out rough edges and add depth where needed. This stage is crucial for defining the style of your line art—whether you prefer sharp, geometric lines or softer, more fluid strokes.
If you want to add flair to your line art, consider experimenting with different line weights. Varying the thickness of lines can create a dynamic feel, drawing the viewer’s eye to key features. A simple table can help you visualize your options:
Line Weight
Effect
Thin
Delicate and subtle
Medium
Balanced and versatile
Thick
Bold and striking
After you’ve finalized your line art, save your masterpiece in various formats. PNG is ideal for clean images, while SVG is perfect for further edits and scalability. This way, you can share your work online, print it, or incorporate it into other projects.
Lastly, don’t be afraid to showcase your creativity! Line art is not just about replication; it’s an opportunity to infuse your personal style and interpretation into your work. Share your creations on social media, participate in art communities, and seek feedback. Embracing this collaborative spirit can enhance your skills and inspire you to explore new artistic avenues.
Understanding the Basics of Line Art
Line art is a captivating and versatile form of illustration that relies on clean lines to create striking visuals. It can transform ordinary photos into stunning pieces of art, allowing you to express your creativity and style. To get started, it’s crucial to understand the foundational elements that make line art unique.
Key Characteristics of Line Art:
Minimalism: Line art often embraces a minimalist approach, focusing on the essentials and eliminating unnecessary details.
Bold Outlines: The use of thick, bold outlines helps to define shapes and forms, making the artwork easily recognizable.
Monochromatic Palette: This style typically uses a single color, which emphasizes the lines and shapes rather than a wide range of colors.
Stylization: Line art allows for artistic stylization, meaning you can exaggerate features or play with proportions to achieve a unique look.
To create perfect line art from photos, start by choosing an image that speaks to you. Consider the subject matter; portraits, landscapes, and animals can all be transformed beautifully into line art. Once you have your image, the next step is to simplify its features. This is where understanding line art’s minimalistic nature comes into play.
One effective technique is to trace over the major outlines of your photo. You can use digital tools or traditional mediums, but the goal is to capture the essence of the image with as few lines as possible. Focus on the following aspects while tracing:
Important Features: Identify key features that define the subject.
Overlap: Pay attention to overlapping areas, as they can add depth to your line art.
Curves and Angles: Use smooth curves and sharp angles to convey different textures and emotions.
Another vital part of the line art process is refining your lines. After the initial tracing, go back and smooth out any rough edges or inconsistencies. This step is crucial in achieving that polished look that makes line art stand out. You can also experiment with varying line thicknesses to create contrast and interest within your piece.
consider adding extra elements to your artwork. While line art often stands alone, incorporating subtle textures or patterns can enhance the overall composition. A well-placed background or abstract shapes can elevate your line art, making it even more visually appealing.
creating perfect line art from photos is a rewarding journey that combines observation, simplification, and creativity. With practice and attention to detail, you’ll be able to transform your photographs into stunning line art pieces that capture the imagination.
Choosing the Right Photo for Transformation
When embarking on the journey of transforming a photo into stunning line art, the choice of the original image is crucial. Not all photos are created equal, and certain characteristics can make a significant difference in the final outcome. Here are some essential factors to consider when selecting the perfect photo:
Clarity: A clear and high-resolution image is vital. Blurry or pixelated photos can lead to messy line art that lacks detail. Aim for crisp, well-lit images that showcase your subject effectively.
Contrast: Look for images with strong contrast between the subject and the background. A photo with distinct dark and light areas allows the line art to pop, enhancing its visual appeal.
Simple Background: Complicated backgrounds can distract from the subject. Choosing a photo with a simple or monochromatic background will keep the focus where it belongs—on your main subject.
Defined Shapes: Images that feature strong outlines and well-defined shapes translate better into line art. Look for subjects with clear edges, whether it’s a portrait, an object, or a landscape.
Emotional Expressions: If you’re working with portraits, consider the emotional content. A photo that captures a genuine expression can add depth and personality to the line art, making it more engaging.
To further streamline your selection process, here’s a handy comparison table that outlines the characteristics of different types of photos:
Photo Type
Ideal for Line Art?
Notes
Portraits
✔️
Focus on expressions and detail.
Landscapes
✔️ (with simple elements)
Choose ones with strong foreground subjects.
Objects
✔️
Great for geometric shapes and forms.
Action Shots
❌
Can be too chaotic, lacking defined lines.
Group Photos
❌
Too many elements can dilute focus.
Once you’ve found an image that ticks all the right boxes, consider the mood and message you want to convey through your line art. The right photo will not only translate well but will also resonate with your audience, creating a connection through visual storytelling. From whimsical illustrations to serious artistic statements, the transformation begins with that initial image selection.
Remember, the process of creating line art is not just about converting a photo into a graphic representation; it’s about breathing new life into an image. Take the time to choose wisely, and your final piece will reflect the care and thought you put into the selection process.
Exploring SoftOrbits: Your Go-To Tool
Unleashing your creativity has never been easier with SoftOrbits. This versatile tool transforms your photos into stunning line art effortlessly. Whether you’re a professional artist seeking inspiration or a hobbyist looking to experiment, SoftOrbits provides the perfect platform to elevate your artwork.
One of the standout features of SoftOrbits is its user-friendly interface. You don’t need to be a tech wizard to navigate through the options. Here’s what makes it so appealing:
Intuitive Design: Right from the start, you’ll notice how easy it is to upload your images and access the editing tools without overwhelming menus.
Customizable Settings: Adjust the contrast, line thickness, and detail levels to suit your artistic vision. The software allows for minute tweaks to ensure your line art looks just how you want it.
Instant Preview: See your changes in real-time! This feature helps you make quick decisions and refine your artwork on the fly.
To create breathtaking line art, follow these straightforward steps:
Upload your selected photograph to the SoftOrbits interface.
Choose your desired style from a variety of line art options.
Utilize the customization tools to adjust the settings to your liking.
Preview your artwork and make any final adjustments before saving.
Moreover, SoftOrbits supports various file formats, making it compatible with many other graphic design tools. You can seamlessly export your artwork to formats such as PNG, JPG, and even vector formats. This flexibility allows for easy integration into your projects, whether for digital displays or printed materials.
For those who appreciate quality and speed, SoftOrbits does not disappoint. The software processes high-resolution images efficiently, ensuring that you don’t have to compromise on quality for the sake of speed. Your artwork retains its integrity, allowing for sharp, clear lines that truly stand out.
Lastly, community support is a significant advantage of using SoftOrbits. Engage with a vibrant community of users who share tips, techniques, and inspirations. You can find tutorials, forums, and even user-created content that can spark new ideas and enhance your skills. It’s always beneficial to learn from fellow artists, and SoftOrbits makes this interaction easy and fun.
The path to creating stunning line art from your photos is clearer than ever with SoftOrbits. With its powerful tools and supportive community, you’re set up for success in your artistic endeavors. Dive in, explore the features, and let your creativity flow!
Importing and Preparing Your Image
Starting off on the right foot is crucial when transforming your photos into stunning line art. Begin by selecting an image that resonates with your artistic vision. A high-contrast photo often yields the best results, as the stark differences between light and dark areas make it easier to delineate lines and shapes in the final art piece.
Once you have your chosen image, it’s time to import it into your image editing software. Most programs allow you to drag and drop the image directly into the workspace, or you can use the ‘File’ menu to navigate and select your photo. Make sure to check the supported file formats, typically JPEG and PNG are safe bets.
After importing, the first step in preparing your image is to adjust the brightness and contrast. This adjustment enhances the details that will become your line art. Look for a settings panel within the software to tweak these values. Aim for a balance: too much brightness can wash out details, while too much contrast can obscure subtle textures.
Next, consider resizing your image. Depending on the final output size you envision for your line art, adjusting the dimensions can help maintain clarity. A good rule of thumb is to keep the resolution at least at 300 DPI (dots per inch) to ensure your art remains crisp and clear, especially if you plan on printing it.
Another important step is to convert your image to grayscale. This eliminates color distractions and allows the shapes and lines to stand out more prominently. Most image editing software has an option for this under the ‘Image’ or ‘Adjustments’ menu. Once in grayscale, you’ll have a clearer idea of where to define your lines.
Now it’s time to apply your filter effects. Many software programs have filters specifically designed for creating line art. Experiment with different styles—like ‘Find Edges’ or ‘Posterize’—to see which effect aligns best with your artistic vision. Remember, the goal here is to simplify the image into basic shapes and lines.
If you have a preference for certain tools, consider using the pen tool or brushes to manually refine the lines. This approach allows for a more personalized touch, ensuring that your line art captures the essence of the original photo while adding your unique flair.
Lastly, don’t forget to save your work frequently! Use different file names to keep track of various stages of your project. This way, you can always revert back to a previous version if you want to experiment further.
Adjusting Contrast and Brightness for Clarity
To achieve stunning line art from your photos, one key step is to fine-tune the contrast and brightness of your images. Adjusting these elements can significantly enhance the clarity and definition of your subjects, making the lines stand out beautifully. Here’s how you can do it effectively:
Start by opening your image in the photo editing software of your choice. Look for the brightness and contrast settings, typically found under the “Adjustments” or “Image” menu. The goal here is to find the perfect balance that accentuates the details without losing the essence of the original photo.
Increase Brightness: If your image appears too dark, gently raising the brightness can illuminate the details. Be cautious; too much brightness can wash out the finer elements.
Boost Contrast: Elevating the contrast adds depth. This adjustment highlights the differences between light and dark areas, ensuring that the lines you want to emphasize pop out.
Fine-Tune Gradually: Make small adjustments rather than drastic changes. It’s easy to overdo it, which can lead to an unnatural look.
As you tweak these settings, keep an eye on the overall composition of your image. You want to maintain the natural look while enhancing the lines that will become your artwork. Sometimes, it helps to zoom in on specific areas to see how your adjustments affect details close up.
Once you’ve achieved the desired brightness and contrast, consider using the levels or curves tools for more precision. These tools allow you to adjust specific tones in your image, giving you control over shadows, midtones, and highlights. Experimenting with these can yield impressive results, especially for line art where precision is paramount.
Adjustment Type
Recommended Range
Effect
Brightness
+10 to +30
Illuminates dark areas
Contrast
+15 to +40
Enhances depth and definition
Levels
Adjust as needed
Targets specific tonal ranges
After making these adjustments, take a moment to step back and evaluate your image. It may be helpful to compare it to the original photo to ensure you haven’t strayed too far from what you want to represent. If you find that certain features are still lacking, don’t hesitate to return to the adjustments and refine them further.
Remember, the journey to perfect line art is about experimentation. The more you play around with contrast and brightness, the more intuitive it will become. Soon, you’ll develop a knack for knowing just how much adjustment your images need to transform into stunning line art.
Utilizing Filters to Enhance Line Quality
To achieve the perfect line art from your photographs, utilizing filters is a game changer. Filters can drastically alter the appearance of your image, emphasizing the outlines and enhancing the overall quality of your line work. Here’s how you can leverage different types of filters to get the best results.
1. Edge Detection Filters
Edge detection filters are essential when it comes to isolating lines within your photos. These filters work by analyzing the contrast between adjacent pixels, allowing you to highlight the edges of objects. Here are a few options to consider:
Sobel Filter: Great for vertical and horizontal edges, providing a clean outline.
Canny Edge Detector: Known for its accuracy, this filter can produce striking line art.
Laplacian Filter: Helps in emphasizing areas of rapid intensity change, useful for intricate designs.
2. Artistic Filters
Once you have your edges highlighted, artistic filters can be applied to give your line art a unique flair. These filters transform the overall tone and texture of your image, adding depth to your line work:
Watercolor Filter: Softens the lines while creating a more fluid appearance.
Ink Outline Filter: Produces bold, black outlines that stand out distinctly against lighter backgrounds.
3. Adjusting Filter Parameters
It’s essential to tweak the parameters of your chosen filters to suit your specific image. Here’s a simple guide to help you fine-tune your settings:
Filter Type
Recommended Setting
Effect
Sobel
Threshold: 20
Clear edge definition
Canny
Low Threshold: 50, High Threshold: 150
Sharp, precise edges
Sketch
Intensity: 80%
Natural hand-drawn effect
4. Layering Techniques
Don’t be afraid to experiment with layering different filters. By applying multiple filters, you can combine their strengths and create unique effects. For instance, applying an edge detection filter first, followed by an artistic filter, can yield stunning results. Just keep in mind to adjust the opacity of each layer for the best visual outcome.
Using filters effectively is key to transforming your photographs into beautiful line art. With a bit of experimentation and adjustment, you can unlock a world of creativity, making your artwork stand out. So dive into your editing software, explore the possibilities, and watch your line art come to life!
Mastering the Outline Settings for Precision
When it comes to transforming your photos into exquisite line art, the outline settings play a crucial role in achieving clarity and detail. Mastering these settings can mean the difference between a muddled sketch and a stunning piece of art. Here are some essential tips to help you navigate these options effectively:
Adjust the Threshold: The threshold setting determines how much of the image is transformed into lines. A higher threshold can capture more detail, while a lower setting may simplify the image. Experimenting with this option allows you to find the perfect balance.
Fine-Tune the Smoothing: Smoothing controls the jaggedness of your lines. A setting that’s too low will yield rough edges, whereas too high can obscure details. Aim for a smooth finish that retains the essential features of your original photo.
Edge Detection: Utilizing edge detection helps in pinpointing significant outlines within your image. By adjusting this setting, you can emphasize specific features, enhancing the overall impact of your line art.
Line Thickness: The thickness of your lines can dramatically influence the style of your artwork. Thicker lines can create a bolder look, while thinner lines lend an air of delicacy. Play around with this setting to match your artistic vision.
Furthermore, utilizing contrast can elevate your line art. By enhancing contrast before applying your outline settings, you can ensure that the essential elements stand out more prominently. This step is particularly important for images with intricate details that you want to preserve.
For those tackling complex images, consider using a layering technique. Start with a broader outline and gradually refine the details. This approach not only enhances precision but also allows you to maintain control over the final look of your artwork.
It’s also beneficial to preview your adjustments in real-time. Many software options provide live previews of changes made to outline settings. Take advantage of this feature to observe how your alterations affect the overall composition, ensuring you’re moving in the right direction with each adjustment.
Setting
Recommended Action
Threshold
Experiment for detail balance
Smoothing
Adjust for line clarity
Edge Detection
Use to highlight features
Line Thickness
Modify for artistic style
By mastering these outline settings, you’ll set yourself up for success in creating stunning line art from your photos. Remember, the key is to experiment and refine your approach until you achieve the desired outcome. With practice, you’ll develop an instinct for what works best for your unique style.
Fine-Tuning Details for a Polished Finish
Once you’ve generated the initial line art from your photo, it’s time to refine it for that polished finish. This stage is crucial as it transforms your work from a rough sketch into a stunning piece of art that captivates viewers. Here are some essential tips to consider during the fine-tuning process:
Adjust Line Thickness: Varying the thickness of your lines can create depth and emphasis. Use bolder lines for foreground elements and thinner lines for details in the background.
Clean Up Imperfections: Zoom in and carefully erase any unwanted marks or stray lines. A clean canvas will elevate the quality of your line art significantly.
Enhance Contrast: Play with the contrast settings to ensure your lines stand out. This can make your art pop and draw the viewer’s attention where you want it most.
Refine Edges: Use the smoothing tool to refine jagged edges and create a more professional look. This will help maintain a cohesive flow throughout your artwork.
In addition to the visual adjustments, consider the overall composition of your line art. Here are some pointers to help guide you:
Balance Elements: Ensure that your focal points are balanced within the composition. If one side feels heavier, consider adjusting elements to achieve harmony.
Utilize Negative Space: Don’t underestimate the power of negative space. It can enhance the overall aesthetic and help draw attention to your focal points.
Layering Techniques: Experiment with layering to create more intricate designs. This adds dimension and can lead to exciting visual effects.
Allow for non-destructive editing, perfect for fine-tuning details without losing original work.
Custom Brushes
Tailor your own brushes for unique textures and line styles that can elevate your art.
Color Overlay
Apply color overlays on your line art to experiment with how color interacts with the lines.
By incorporating these techniques and tools into your workflow, you’ll be well on your way to achieving a polished finish on your line art. The extra time spent in this detail-oriented phase will undoubtedly reflect in the final product, making your work not just good, but outstanding. Happy creating!
Adding Color and Texture to Elevate Your Artwork
When it comes to transforming your line art into a captivating masterpiece, adding color and texture is the secret ingredient that can take your artwork to the next level. Color has the power to evoke emotions, set the mood, and highlight the details of your work. Texture, on the other hand, adds depth and interest, making your art not just a visual experience but a tactile one as well.
One effective way to infuse color into your artwork is through the use of a color palette. Choose a palette that reflects the theme or emotion you want to convey. This can be a harmonious combination of colors that complement each other or a bold contrast for a more dramatic effect. Consider the following tips when selecting your colors:
Understand color theory: Familiarize yourself with concepts like complementary colors, analogous colors, and triadic schemes to create balanced compositions.
Experiment with opacity: Layering colors can add dimension. Play with transparency to create soft gradients or vibrant overlays.
Use color strategically: Highlight focal points with brighter or contrasting colors to draw the viewer’s eye.
Texture can be applied in various ways, from traditional methods like brushwork and mixed media to digital techniques that mimic real-life textures. Here are some ideas for incorporating texture into your artwork:
Mixed media: Combine various materials such as pastels, charcoal, or fabric. This adds layers and creates a unique tactile quality.
Digital brushes: If you’re working digitally, utilize textured brushes that emulate different effects, like watercolor or oil painting.
Overlay textures: Experiment with overlaying textures using software, such as grain or canvas patterns, to give your line art a richer appearance.
In addition to color and texture, consider the use of contrast. This can further enhance your artwork by creating visual interest. You can achieve contrast through:
Light and dark shades: Use a range of values to add depth and dimension.
Sharp vs. soft edges: Vary the edges of your lines; sharper lines can create focus, while softer lines can produce a sense of movement or softness.
don’t hesitate to step back and evaluate your work periodically. Sometimes, less is more. You may find that a few well-placed colors or textures can speak volumes without overwhelming the composition. Trust your instincts and allow your creativity to guide you.
the combination of color and texture can completely transform your line art, making it more engaging and visually dynamic. Embrace the process, experiment with different techniques, and watch as your artwork evolves into something extraordinary.
Saving and Exporting Your Line Art Masterpiece
Once you’ve put in the time and effort to create your stunning line art from a photo, the next step is to ensure that your masterpiece is saved and exported correctly. Proper saving techniques will not only preserve the quality of your artwork but also prepare it for various uses like printing, sharing on social media, or including in portfolios.
First, it’s essential to choose the right file format for your artwork. Each format serves a unique purpose:
PNG: Ideal for web use, this format supports transparency and maintains high quality.
JPEG: Great for sharing on social media, but be mindful that it compresses the image, which can affect quality.
PDF: Perfect for printing, as it preserves vector quality and detail.
SVG: Best for scalability, as it allows your line art to be resized without losing quality.
To save your line art in the best possible quality, always start by saving your work in a native format of the software you are using. This allows you to revisit and make edits later without any loss of quality. For instance, if you’re using SoftOrbits, save your project as a .softorbits file first. Once you’re satisfied with your work, you can export it to any of the formats mentioned above.
Before exporting, be sure to check the following settings:
Resolution: A higher DPI (dots per inch) is crucial for print quality. Aim for at least 300 DPI.
Color Mode: For digital displays, RGB is best, while CMYK is preferred for print.
Size: Make sure your canvas size matches your intended use to avoid pixelation or unnecessary cropping.
Here’s a quick overview of export settings for various uses:
Use
Recommended Format
Resolution
Color Mode
Web
PNG or JPEG
72 DPI
RGB
Print
PDF
300 DPI
CMYK
Scalability
SVG
–
–
once you’ve exported your line art masterpiece, consider backing it up in multiple locations, such as an external hard drive or cloud storage. This way, your hard work is protected against accidental loss or corruption.
By following these steps, you’ll ensure that your line art not only looks amazing but is also ready for whatever creative venture you have in mind. Save wisely, export confidently, and get ready to share your artistic vision with the world!
Tips for Sharing Your Creations Online
Once you’ve transformed your photos into stunning line art, the next step is to share your creations with the world. Here are some effective tips to ensure your artwork gets the attention it deserves.
Choose the Right Platform: Different social media platforms cater to various audiences. Explore sites like Instagram for visual appeal, Pinterest for inspiration, and Facebook for community engagement.
Use Appropriate Hashtags: Incorporate relevant hashtags to improve visibility. Popular tags like #LineArt, #DigitalArt, or #ArtCommunity can help connect you with fellow artists and art enthusiasts.
Create Engaging Captions: Pair your artwork with captivating captions. Share the story behind your creation or the techniques used. This personal touch can engage your audience on a deeper level.
Post Regularly: Consistency is key in maintaining an audience. Develop a posting schedule that allows you to share new works while keeping your followers engaged and anticipating your next piece.
Engage with Your Audience: Respond to comments, ask questions, and create polls or challenges. Building a rapport with your audience can enhance your online presence and foster a sense of community.
Additionally, consider creating a visually appealing portfolio or website to showcase your best works. A well-organized gallery can leave a lasting impression on visitors and potential clients. Here are some elements to include:
Portfolio Element
Description
High-Quality Images
Ensure all images are clear and professionally presented to highlight your skills.
About Me Section
Share your artistic journey, influences, and personal story to create a connection with your audience.
Contact Information
Make it easy for potential clients or collaborators to reach you for inquiries or commissions.
To further amplify your reach, consider collaborating with other artists or participating in online art challenges. This not only helps you gain exposure but also connects you with like-minded creatives. Don’t hesitate to share your process behind creating line art as well; behind-the-scenes content can intrigue your audience and inspire budding artists.
Lastly, track your engagement and adapt your strategy based on what resonates most with your audience. Use insights from your social media platforms to refine your approach, focusing on what garners the most interaction. Remember, sharing your creations is not just about showcasing art; it’s about building a community and sharing your passion with the world.
Troubleshooting Common Line Art Issues
Creating stunning line art from photos can sometimes lead to unexpected challenges. Here’s how to identify and fix some of the most common issues you might encounter during the process.
1. Inconsistent Line Thickness: One of the primary concerns is achieving consistent line thickness throughout your artwork. Variations can occur due to settings in the software or the quality of the original photo. To tackle this:
Adjust the brush settings to maintain a uniform width.
Utilize pressure sensitivity settings if your tablet supports it.
Revisit the stroke paths and smooth them out as needed.
2. Poor Image Quality: A blurry or pixelated image can compromise the clarity of your line art. To enhance the quality:
Start with a high-resolution image to ensure detailed tracing.
Use image enhancement tools to sharpen or clarify the photo.
Consider tweaking the contrast and brightness to make outlines more prominent.
3. Overly Complex Details: While intricate details can add character, too many can clutter your line art. If you find your image is too complex, try:
Focusing on the main features and simplifying background elements.
Using layers to separate details for easier adjustments.
Employing a threshold tool to reduce the number of colors and simplify shapes.
4. Color Compatibility: If your line art is meant to be colored, color clashes can ruin the aesthetic. To ensure compatibility:
Choose a color palette that complements your line art style.
Test colors on a separate layer before applying them to the main artwork.
Use a color harmony tool to find visually appealing combinations.
Issue
Solution
Inconsistent Line Thickness
Adjust brush settings and smooth stroke paths.
Poor Image Quality
Use a high-res image and enhance with editing tools.
Overly Complex Details
Simplify elements and focus on key features.
Color Compatibility
Test palettes and use color harmony tools.
By keeping these common issues and their solutions in mind, you can streamline your workflow and enhance the quality of your line art. Remember, practice makes perfect, so don’t hesitate to experiment until you find the techniques that work best for you!
Inspiring Examples of Line Art from Photos
Line art is a beautiful way to transform ordinary photographs into striking visual pieces. This artistic style emphasizes outlines and contours, stripping away the clutter to reveal the essence of the subject. Let’s explore some inspiring examples that showcase the versatility of line art derived from photos.
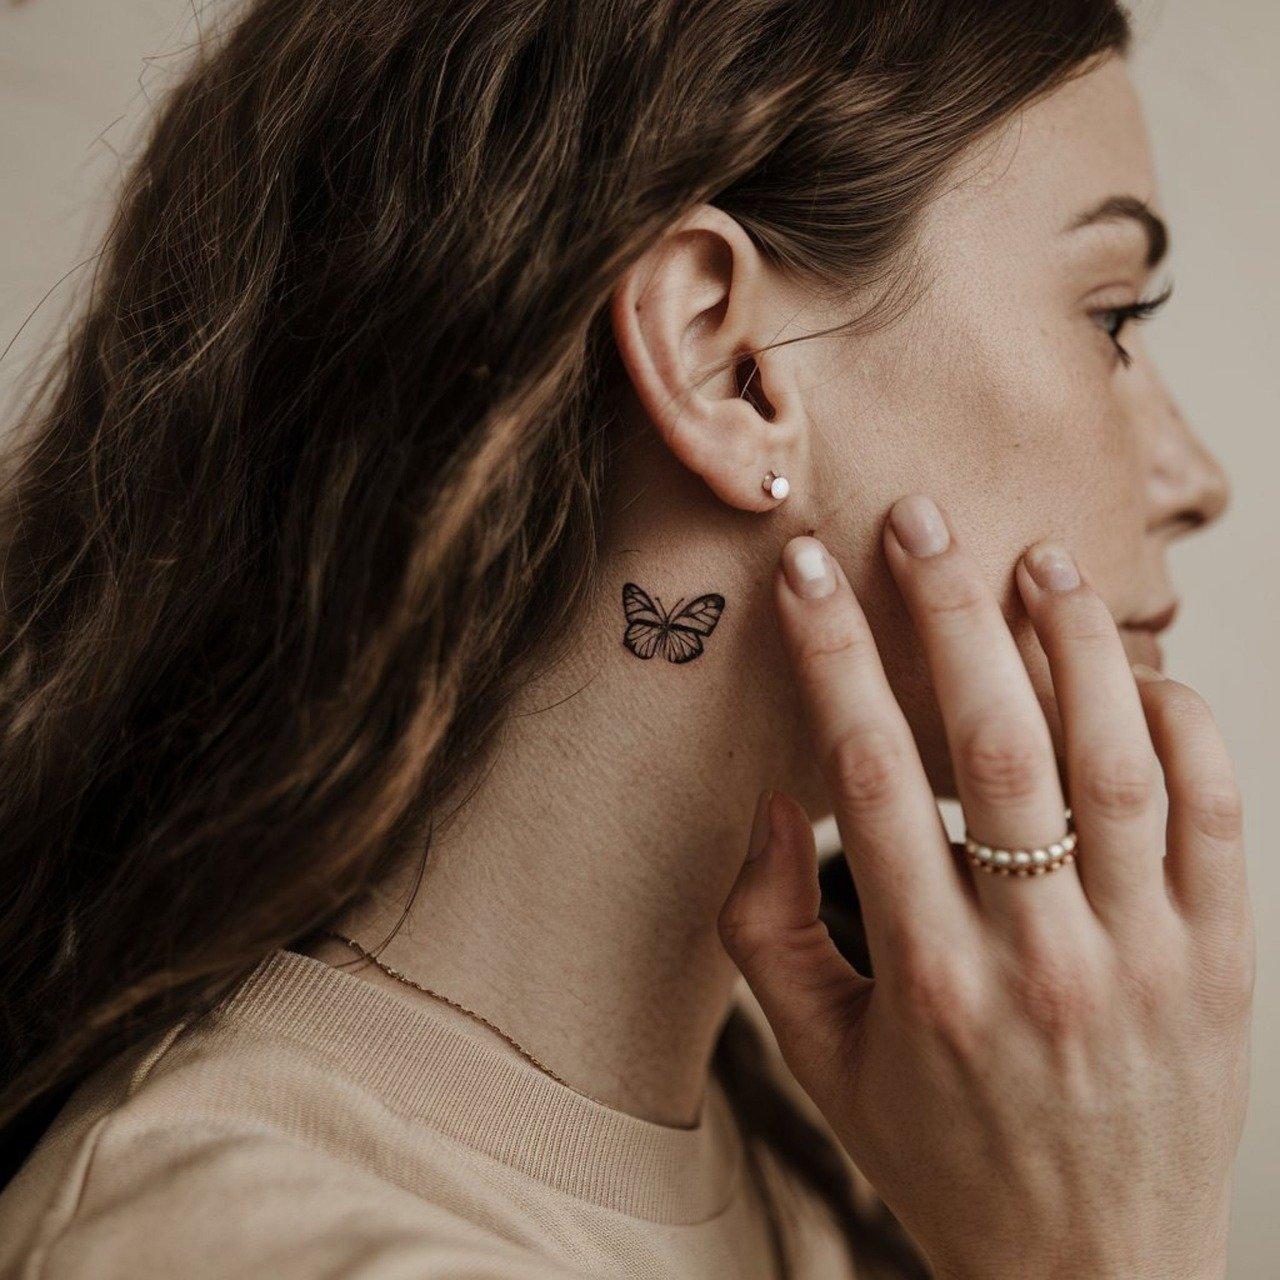
1. Portraits with Personality
Creating line art from portrait photos can bring out the unique characteristics of a subject. By accentuating facial features and expressions with clean, flowing lines, artists can create engaging representations that evoke emotion. This minimalist approach not only highlights the subject’s essence but also allows viewers to connect on a deeper level.
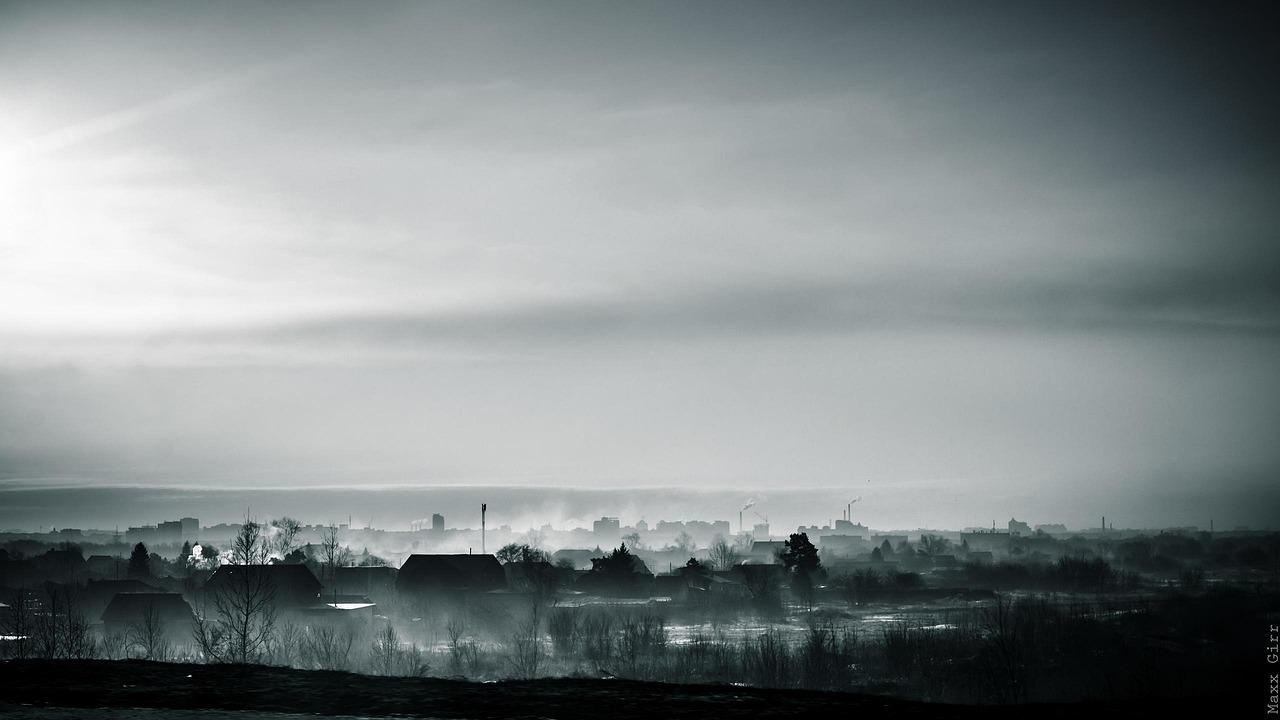
2. Landscapes Reimagined
Imagine converting a stunning landscape photograph into a line art masterpiece. The beauty of nature can be captured in simple strokes that outline mountains, rivers, and trees. This technique emphasizes the shapes and forms of the environment, creating a stylized representation that can be both simplistic and profound.
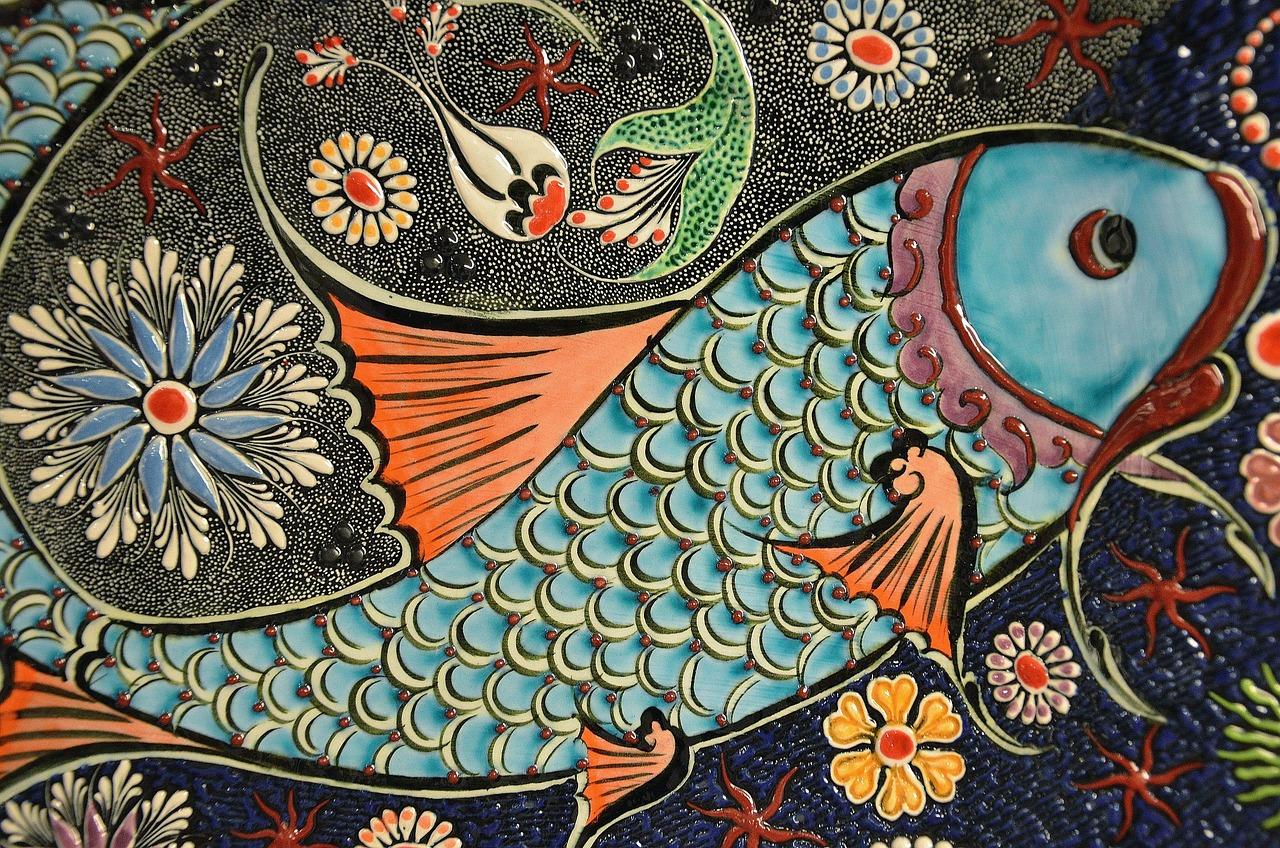
3. Animal Illustrations
Animals make for captivating subjects in line art. By focusing on the distinct features of various species—like the curve of a cat’s tail or the majestic antlers of a deer—artists can produce captivating imagery. Line art can simplify complex textures like fur or feathers, allowing for a clean yet evocative representation.
4. Urban Scenes and Architecture
Cities are full of intricate designs that lend themselves beautifully to line art. Take a photo of a bustling street or an iconic building and transform it into a series of lines and shapes. This approach can highlight the angular geometry of skyscrapers or the winding paths of cobblestone streets, presenting a fresh perspective on urban life.
Here’s a quick comparison of different subject matters that work well for line art, showcasing their unique elements:
Subject Matter
Key Features
Artistic Impact
Portraits
Facial expressions, contours
Emotional connection
Landscapes
Shapes, natural forms
Serene beauty
Animals
Unique features, movements
Dynamic presence
Urban Scenes
Geometry, structure
Modern elegance
With these examples in mind, it’s clear that the potential for creativity in line art is limitless. Whether you’re working from a photo of a beloved pet, a breathtaking view, or a vibrant cityscape, the process can be both enjoyable and rewarding. By using line art techniques, you can embrace simplicity while still conveying powerful stories through your artistic expressions.
Frequently Asked Questions (FAQ)
Q&A: How to Create Perfect Line Art from Photos (SoftOrbits Tutorial)
Q1: What’s the main goal of this tutorial? A: The main goal is to show you how to transform your photos into stunning line art using SoftOrbits software. Whether you’re an artist, designer, or just a hobbyist, this tutorial will help you create beautiful, clean line drawings that you can use for various projects.
Q2: Why should I choose line art over traditional photography? A: Line art offers a fresh, minimalist perspective on your photos. It strips away the distractions of color and texture, allowing the subject to shine in its purest form. Plus, line art can be used for illustrations, logos, and more, making it a versatile choice for creative projects.
Q3: Do I need advanced technical skills to follow this tutorial? A: Not at all! The SoftOrbits tutorial is designed for everyone, from beginners to experienced users. The software is user-friendly, and the step-by-step instructions guide you through the process, ensuring you feel confident every step of the way.
Q4: What type of photos work best for creating line art? A: The best photos for line art are those with clear outlines and good contrast. Think about images with distinct shapes and minimal background clutter. Portraits, landscapes, and architectural photos can all be excellent choices!
Q5: Can I customize the line art after it’s created? A: Absolutely! The beauty of using SoftOrbits is that you can further refine your line art. Adjust the thickness of the lines, add details, or even combine multiple images. Your creativity is the only limit!
Q6: Is there a specific workflow I should follow for best results? A: Yes! Start by selecting a high-quality photo, then follow the tutorial’s steps to adjust the settings in SoftOrbits for optimal line drawing. Don’t rush; take your time to experiment with different settings for the best outcome.
Q7: How long will it take to create a piece of line art? A: The time required can vary depending on the complexity of the photo and your familiarity with the software. However, many users find they can create impressive line art in just a few minutes once they get the hang of it!
Q8: Are there any tips for enhancing my final line art piece? A: Definitely! Consider using various line styles or layering techniques to add depth. You can also integrate color washes or textures after creating your line art if you want to blend styles. Don’t shy away from being creative!
Q9: Where can I find more resources or inspiration for line art? A: Great question! Besides the SoftOrbits tutorial, you can explore online art communities, Pinterest boards, and social media platforms like Instagram and Behance. These are fantastic places to find inspiration and connect with other artists.
Q10: Why should I start creating line art today? A: Line art is not only an exciting way to express your creativity, but it’s also a rewarding skill to develop! With SoftOrbits, you have the tools to easily create beautiful art from your photos. So, why wait? Dive into this tutorial and start transforming your images today! You’ll be amazed at what you can create.
In Summary
And there you have it! Creating stunning line art from your favorite photos using SoftOrbits is not just a fun project, but also a fantastic way to unleash your creativity. Whether you’re looking to add a personal touch to your home decor, create unique gifts, or simply explore your artistic side, this tutorial has equipped you with the tools to transform ordinary images into extraordinary works of art.
Remember, practice makes perfect. Don’t be afraid to experiment with different photos, styles, and techniques. The more you play around with the software, the more comfortable you’ll become, and soon you’ll discover your own unique flair in line art.
So, grab your photos and dive into this exciting world of creativity! We’d love to see what you create, so feel free to share your masterpieces with us. Happy drawing, and until next time, keep those creative juices flowing!